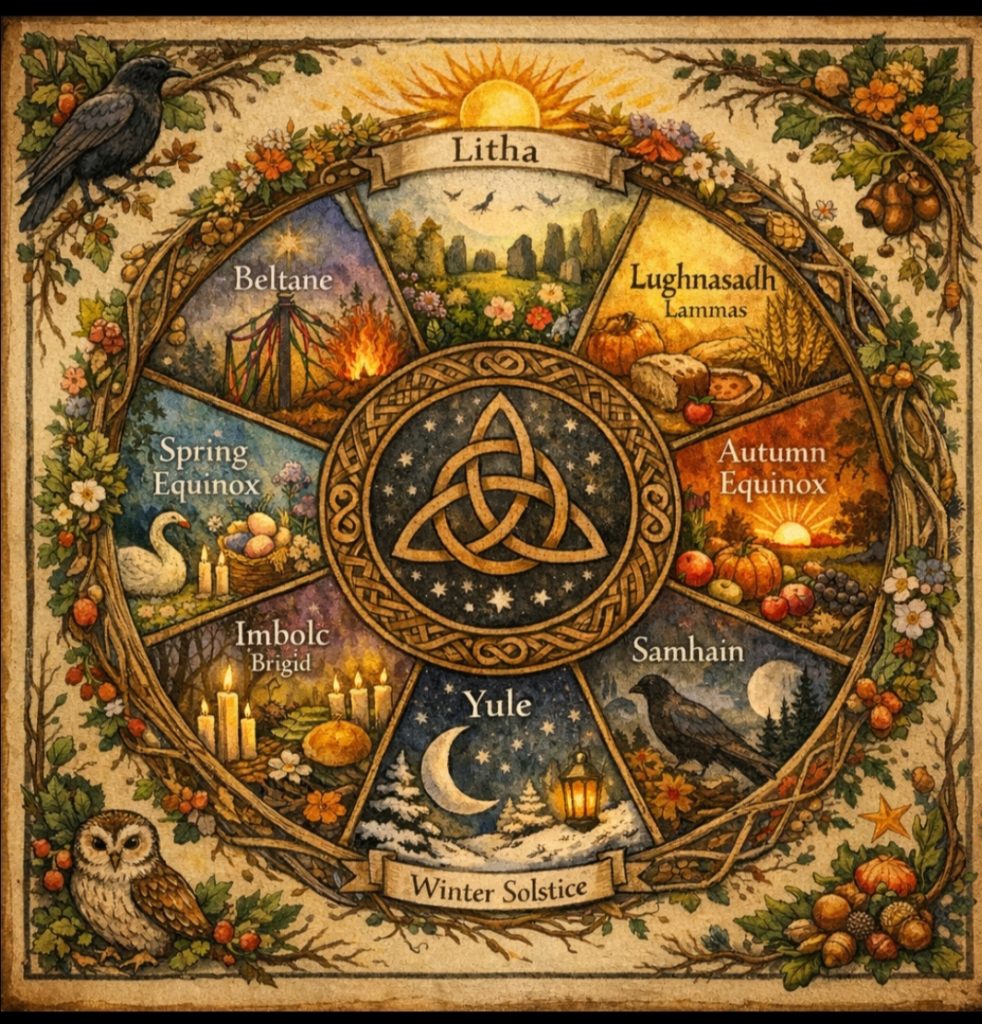
A slow living journey through the seasons, learning to make natural inks from hedgerows, walnut husks, oak galls and wood smoke, capturing colour as a map of the year.
There is something deeply grounding about working with materials that belong to a particular moment in the year.
Living the way we do—me on the water, Stewart in the woods—we don’t really get to ignore the seasons. We know when winter is coming because we’re chopping wood for the wagon. We know when spring is here because the towpath explodes into green.
This journey into natural ink making has become a way of bottling the seasons and noticing the colour around us
Recently, I’ve started looking at that greenery differently. Not just as scenery, but as ingredients. Before ink arrived neatly bottled in plastic from Amazon, color was gathered slowly. It was brewed, fermented, burned, and waited for.
I’ve decided to try and capture that “slow colour” myself. It feels like a quiet map of our year—a reminder that colour, like life itself, is bound to time and place.
The Ink Year: A natural ink making journey from towpath to stove
For most of history, you wrote with what the land gave you.
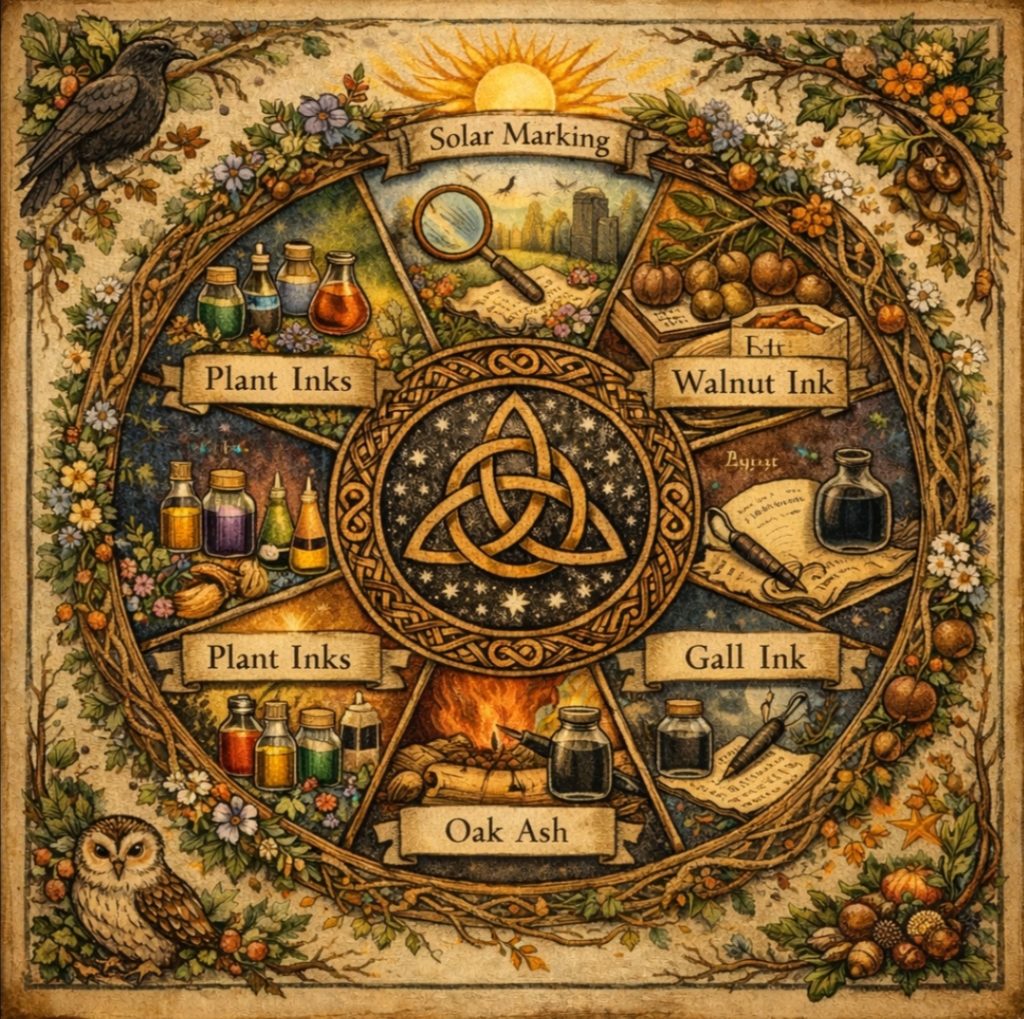
Spring: The Towpath Palette Spring on the canal is bright and urgent. The new leaves and flowers offer pale greens and yellows. These are “fugitive” colours—they fade over time like a memory. But I love that. Medieval scribes used them for sketches and informal notes, knowing they wouldn’t last forever. It teaches you to enjoy the work in the moment, rather than worrying about it lasting a thousand years.
Summer: Solar Baking on the Boat Roof Summer is for heat. Historical recipes talk about leaving jars in the sun to “brew.” Well, if there is one thing a steel narrowboat is good at, it’s getting hot! I’ve been experimenting with “solar brewing” inks on the roof.
The Star Ingredient: Walnut husks. Gathered green in late summer, they make a rich, warm brown ink that has been used for centuries. (Warning: They also stain your hands brown for days. I look like I’ve been gardening without gloves!)
Autumn: The Wagon’s Harvest We’ve already talked about the Oak Galls (see my previous post!). This is Stewart’s season. The woods around the wagon are full of them. When combined with iron (and we have plenty of that!), they create the permanent, waterproof black ink used by Da Vinci. It feels right that Autumn—the season of storing and preparing—gives us the most durable ink.
Winter: The Woodburner Winter turns everything inward. The solar jars come inside, and we turn to fire. Did you know that some of the oldest inks in the world are made from soot? It’s called “Lampblack.” With the multi-fuel stove glowing on the boat, we have plenty of raw material. It’s a messy process, but creating ink from the very ash that kept us warm feels like proper magic.
Ritual, not just utility
What strikes me most about this process is the waiting.
In a world of “Same Day Delivery,” making ink is delightfully, stubbornly slow. Some recipes need to sit for weeks. Others need to be stirred every day.
It aligns so perfectly with our life. You can’t rush a narrow boat, and you can’t rush a fire. Writing with ink you made yourself, from a walnut you picked up or soot you scraped from the flue, changes what you write. It carries weight. It feels like an act of intention.
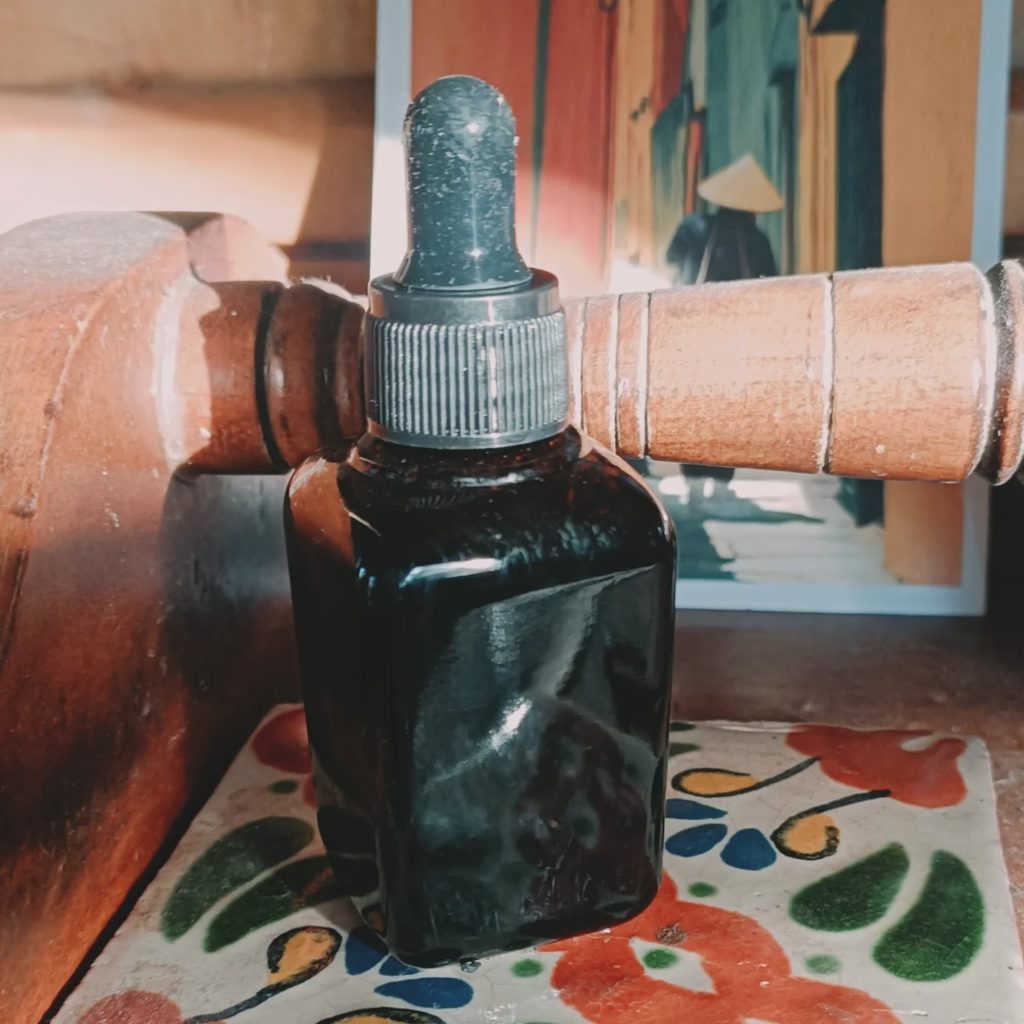
From the kitchen table: A simple walnut ink recipe
If you want to try this yourself (and have a walnut tree nearby!), here is the method I’m using. It’s the easiest one to start with because you don’t need any dangerous chemicals—just time.
What you need:
Green Walnuts: You need the husks (the outer green/black shell), not the hard nut inside.
Water: Rainwater is best if you can catch it.
A “Sacrificial” Pot: Seriously, this will stain everything. Do not use your best saucepan!
Old Nylon Tights: For straining.
Gloves: Unless you want brown hands for a week!
The method:
Collect: Gather the green walnuts when they fall. If they are already turning black and mushy, that’s even better.
Smash: Put them in a bucket (wearing gloves!) and smash the husks off the nuts. You can compost the nuts or save them, but we want the messy shells.
Soak: Put the husks in your old pot and cover them with water. Let them soak overnight. The water will turn dark brown very quickly.
Simmer: The next day, simmer the pot gently for a few hours. It should smell earthy and rich. You want the liquid to reduce down so it becomes concentrated.
The “Iron Hack”: This is where the wagon and the narrow boat comes in! I like to drop a rusty nail into the pot while it simmers. The iron reacts with the walnut tannin to make the brown ink much darker and deeper.
Strain: Pour the liquid through an old pair of tights into a jar.
Preserve: Add a splash of rubbing alcohol or a whole clove to stop it from going mouldy.
My “Process notes” (A work in progress!)
I am strictly an amateur alchemist at the moment, but here is how I’m approaching it:
Foraging Rules: I only take what has fallen. Walnut husks from the ground, oak galls that have dropped. We share the woods with the squirrels and the bugs, so I never strip a tree bare.
The Water: I’m using rainwater collected from the boat, rainwater into a bucket or a plant pot. It feels right to keep the local DNA in the mix.
Embracing the Fade: These inks aren’t standard. They might shift colour, fade, or separate. I’m treating that as a feature, not a bug. It’s living ink.
This isn’t about perfection. It’s about noticing. It’s about walking the towpath or the woods and seeing “ink” where I used to just see “plants.”