Look what happens when you combine a quiet night on the water with a sudden burst of creative energy!
Welcome to our latest project: creating horseshoe nail and spoon ring jewellery right here on the boat!
Recently, Stewart rode up to the boat on his trusty bike ‘Betty’, and what started as a simple brainstorming session quickly turned into an all-night marathon of metalwork and design.
Being on the boat provides such a unique atmosphere for crafting. There’s something about the gentle rock of the hull that really lets the mind wander. Once again, we found ourselves drawn to Stewart’s more rugged, industrial roots.
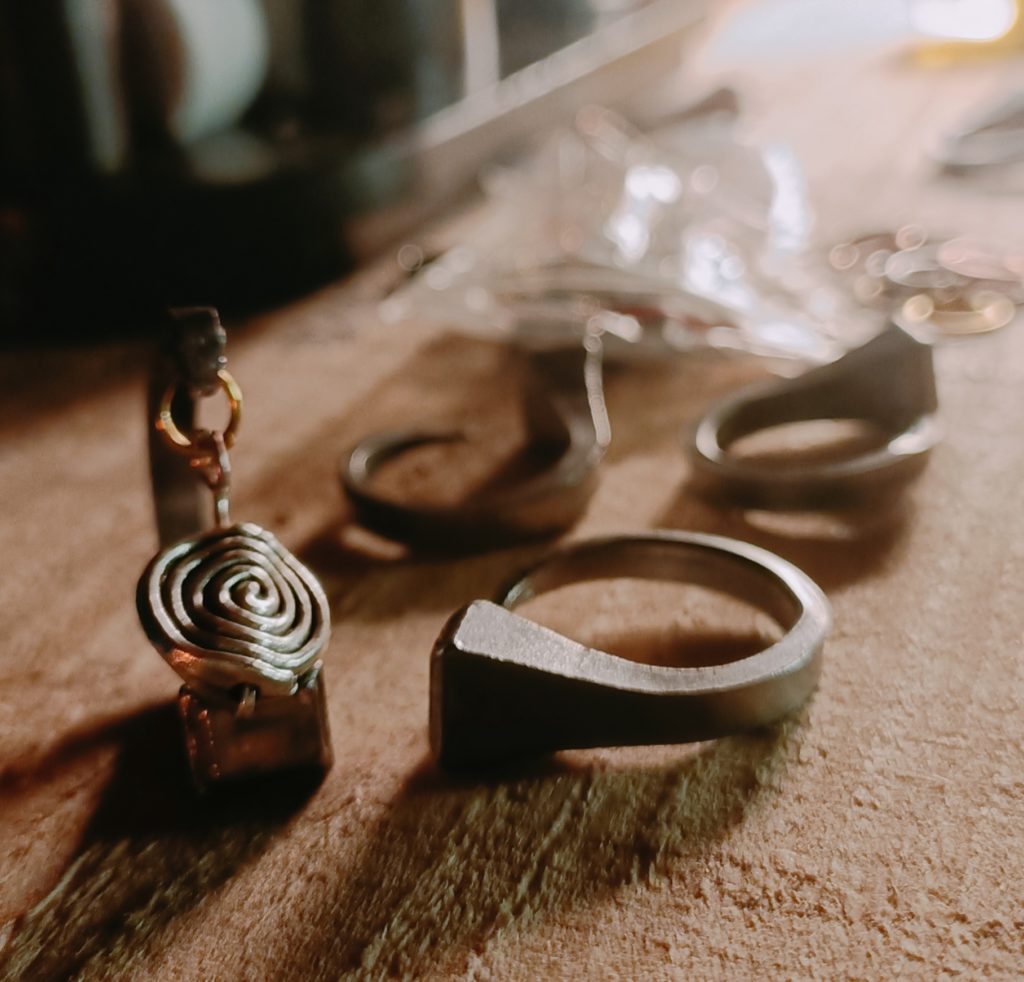
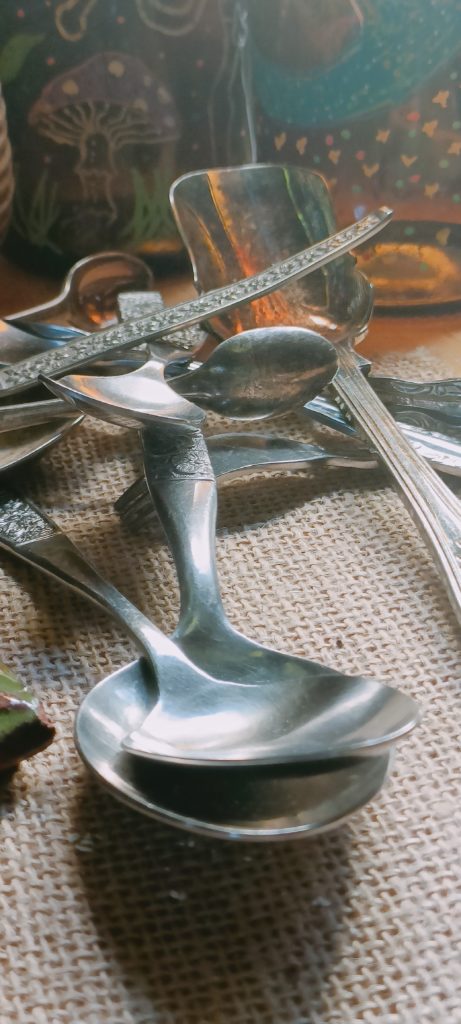
We worked with horseshoe nails and a brand-new addition to our repertoire: spoon rings, thanks to a fantastic gift of a big bag of vintage silver spoons (thanks Mark!). We had plenty of material to test our mettle (pun intended!).
Horseshoe nail jewellery inspiration: Crafting with nails and spoons
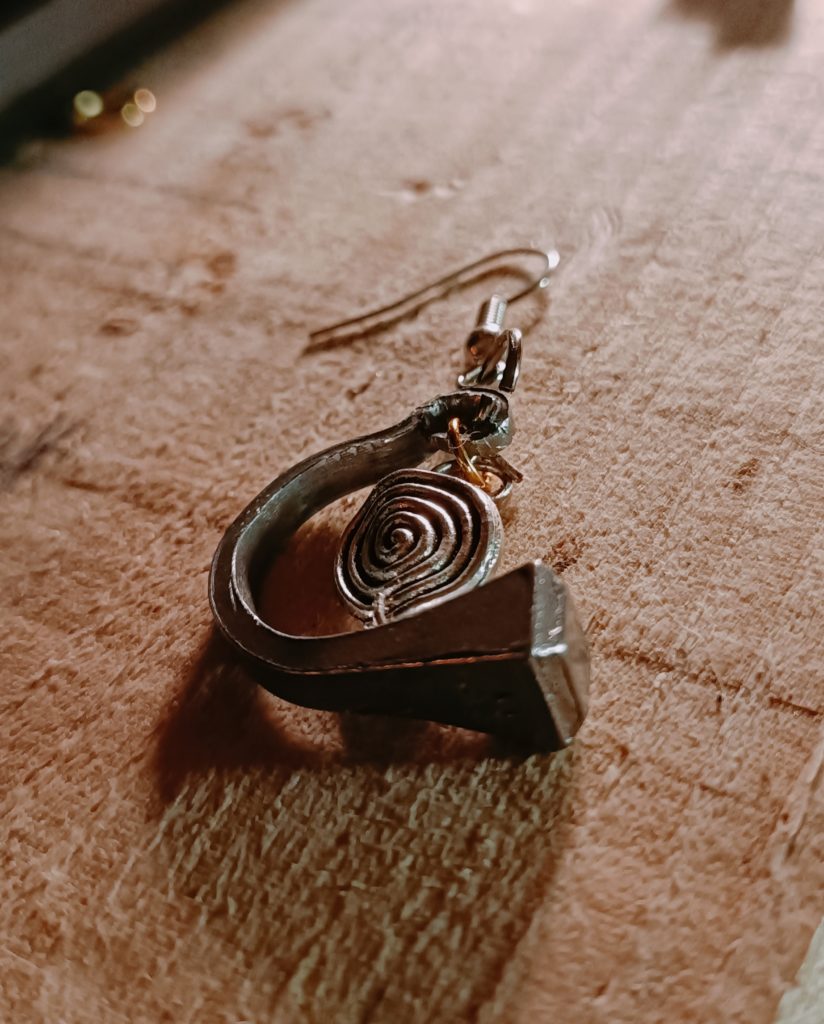
Using horseshoe nails for jewellery is a brilliant way to achieve a “rustic” look. They are surprisingly malleable but hold a shape beautifully once set. We spent hours experimenting, and the ideas just kept popping up! One design would lead to another, and before we knew it, the table was covered in metal prototypes.
Our main focus was on:
Minimalist Rings: Wrapping the nail to follow the natural curve of the finger for a sleek, industrial feel.
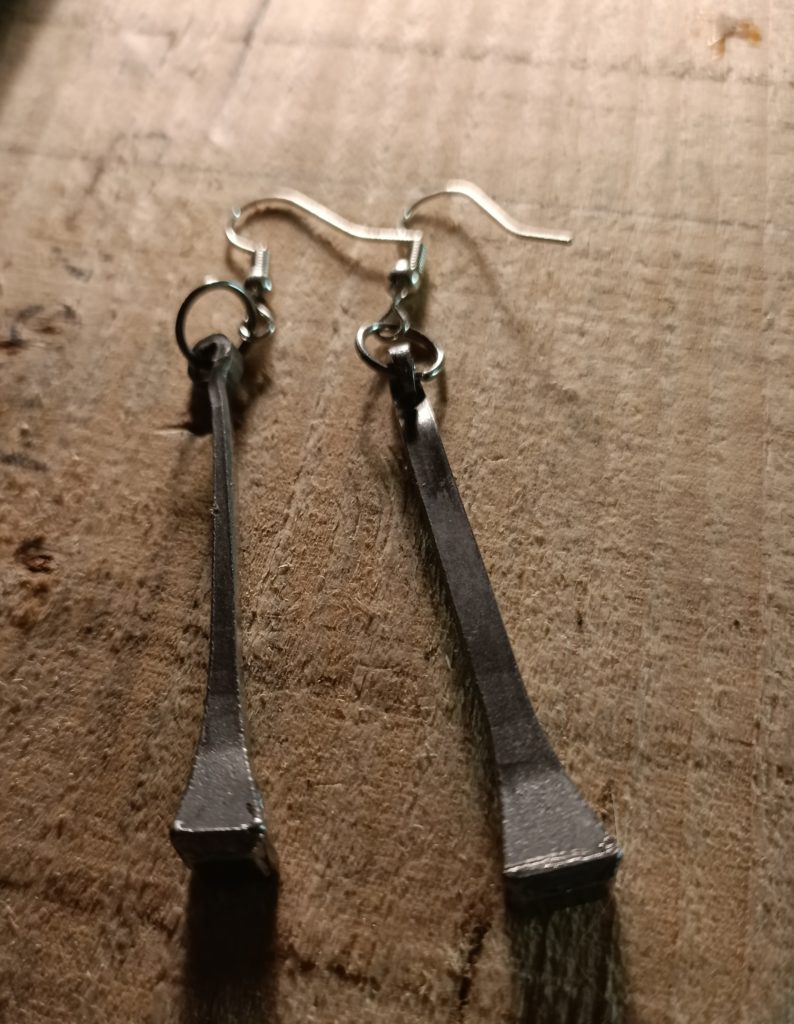
Geometric Earrings: Using jewellery pliers to create sharp, modern angles, and the ring maker for more accurate sizing and shaping.
The weight of the nails is perfect for earrings—substantial enough to feel high-quality, but light enough to wear all day.
The challenge of the spoon ring….
While the nails were a lesson in agility, the spoon rings were a lesson in pure endurance. We used a professional ring maker to help bend the thick, vintage metal, but it wasn’t easy.
Unlike the nails, which loop relatively easily, vintage spoons (especially the solid silver or heavy-plated ones) have a stubborn memory. They want to stay flat! Between the manual shaping and the constant micro-adjustments, we found ourselves “charring” and crafting well into the early hours of the morning. It was hard work, but seeing a piece of flatware transform into a polished statement piece made the lack of sleep completely worth it. There’s something so satisfying about giving a discarded vintage spoon a second life as a piece of wearable art.
Lessons Learned: Beyond superglue!
By the time we went for coffee the next morning, before Stewart began his ride back to Dorset, we were still buzzing with adrenaline. We realised that the shapes we created with the nails were incredibly versatile, especially the swirls and hearts.
However, we also learned a valuable lesson in durability. On our very first prototypes, just to see if a shape would work, we used superglue.
The verdict? It definitely did not work! While it’s fine for a five-minute “proof of concept” to see how a design looks, it offers zero durability for something you’d want to wear out and about. If we want these pieces to last a lifetime, we need to step up our game and move toward permanent joins.
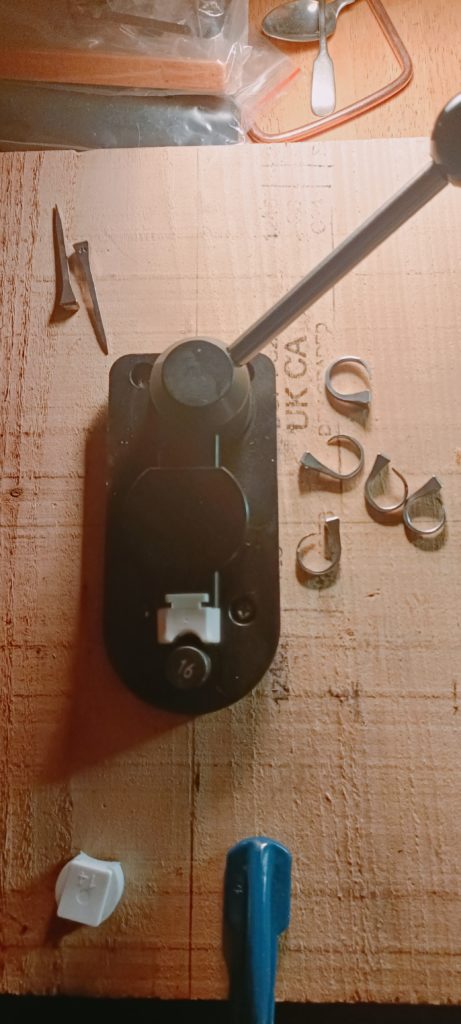
The Toolkit: What we used
If you’re looking to start your own jewellery hobby, these are the essential tools we had on hand on the boat:
| Tool | Purpose |
| Ring Maker / Mandrel | Essential for getting that perfect circular shape without denting the metal. |
| Jewellery Pliers | For fine-tuning bends, creating sharp angles, and attaching earring hooks. |
| Metal Files | Crucial for smoothing down the ends of horseshoe nails for comfort. |
| Polishing Cloths | To bring out the lustre in vintage silver and give prototypes their shine. |
Where to source your materials
One of the most frequent questions we get is, “Where do you actually find horseshoe nails and vintage spoons?” Luckily, you don’t need to live next door to a blacksmith or a manor house to get started.
Horseshoe Nails: You can find these surprisingly easily on Etsy or Amazon. Look for “farrier nails” or “horseshoe nails for crafts.” They often come in different sizes—we found that Size 5 or 6 works best for rings, as they have enough length to wrap comfortably around a finger mandrel.
Vintage Spoons: eBay is your best friend here. Look for “vintage silver-plated spoons” or “job lot cutlery.” Don’t worry if they are a bit tarnished; that’s what the polishing cloth is for! If you’re feeling adventurous, check out local charity shops or car boot sales—you can often pick up beautiful individual pieces for just a few pounds.
The “Heavy Duty” Ring Maker: Since we were working with thicker metals like the spoons, we used a professional bench-top ring bender. You can find these at specialist jewellery suppliers like Cooksongold or high-end craft tool sellers on eBay. It’s a bit of an investment, but if you’re serious about making spoon rings, it’s a total game-changer for your hands.
What’s next for our designs?
We are really pleased with these initial prototypes. They have a raw, industrial edge that we love, but they are just the beginning.
The next big step? The soldering iron. Adding soldering to our process will be a total game-changer. It will allow us to:
Join pieces together permanently (no more superglue disasters!).
Create complex structures like intricate hearts and swirls.
Set small stones to add a bit of sparkle to the rugged steel.
We’re officially moving from “bending”, to “building” and “securing.”
Advice for fellow crafters:
Don’t be afraid to experiment: Your first few pieces are for learning, not perfection. Embrace the “charred” look while you practice!
Invest in a good ring maker: It saves your hands from fatigue and ensures your rings are actually wearable sizes.
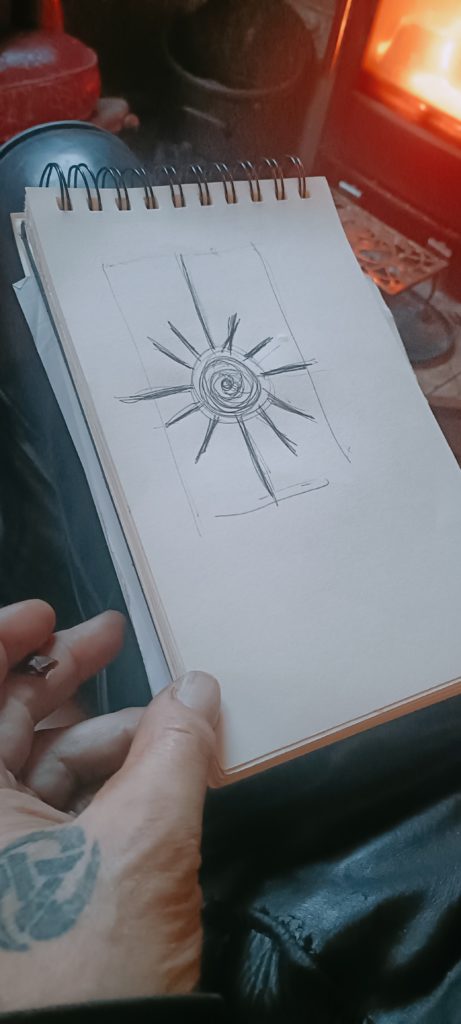
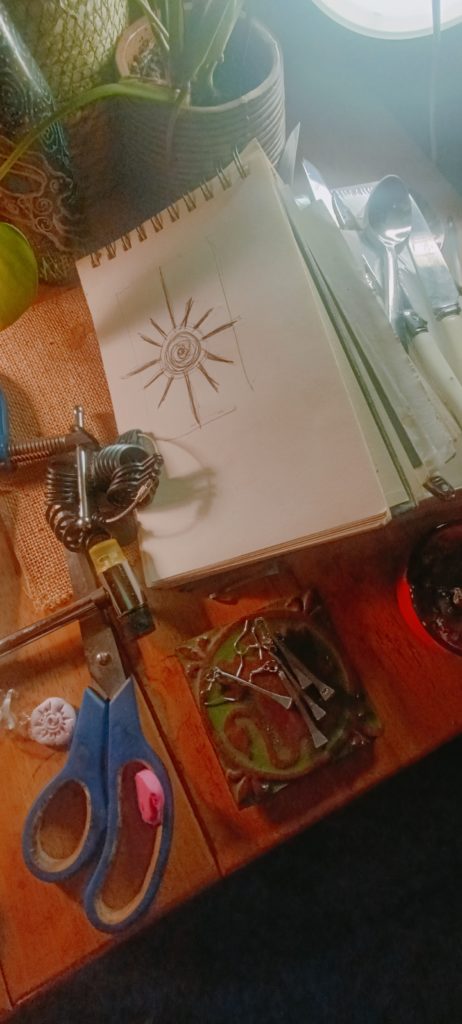
Keep a notebook: When those ideas start popping up at 2 AM, write them down immediately! If we hadn’t, we likely would have forgotten half our best designs by breakfast.
We can’t wait to share more horseshoe nail jewellery inspiration in future sessions!
If you’re feeling inspired to start your own late-night crafting session, check out the Toolkit section above for links to the exact ring maker and files we used on the boat. It’s a bit of an investment, but your hands will thank you! What should we try to make next with our new bag of spoons?